Team approvals
For your team: Raise requests for purchases, events, leave and more, and approve, hold or decline them with a clear record.
Requests > Team approvals is for requests between your own team: someone asks, the right person decides, and there is a record of who approved what and when. No more approvals lost in a chat thread.
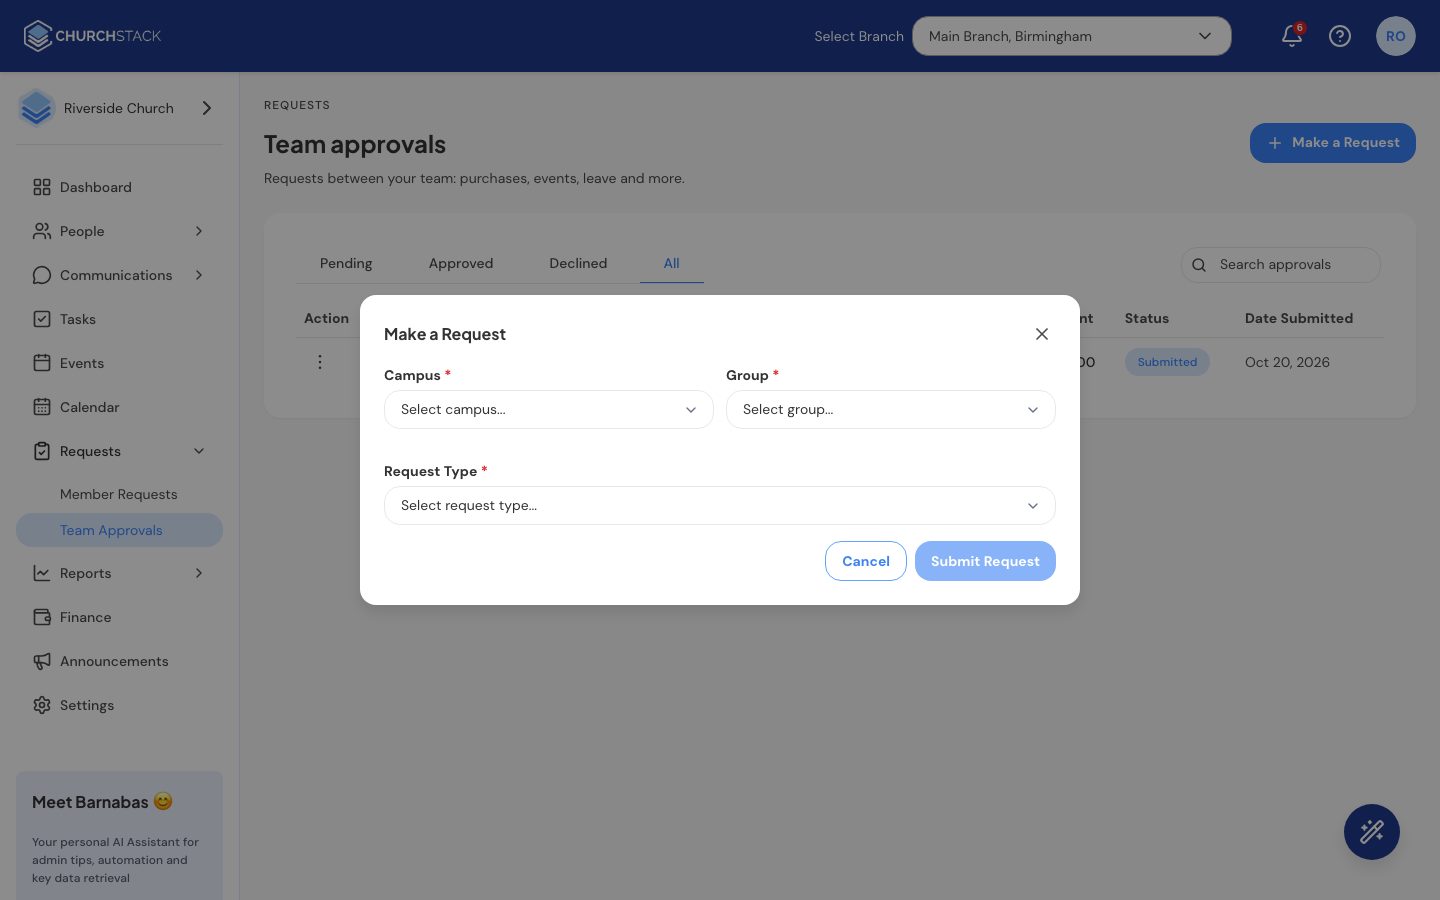
Make a request
- Go to Requests > Team approvals and select Make a Request.
- Choose the Campus and Group the request comes from.
- Choose the Request Type and fill in its details:
- Finance (purchases, hire and reimbursements): choose a requisition type, list each item with its quantity and price (the total adds itself up), and add a purchase link, notes, who approved it locally and any invoices or receipts.
- Event (requests tied to an event): link it to an existing event or enter the event name, and describe what you need.
- Leave (time off for an individual): start date, return date and reason.
- Other: anything else, with a description.
- Select Submit Request.
Review requests
The tabs filter by Pending, Approved, Declined and All. The table shows each request’s type, title, who asked, group and campus, amount, status and date.
Open a request’s row menu and select Review to see everything, including items, totals and attachments. Then choose:
- Approve
- Put on hold, if you need more information before deciding.
- Decline. You must give a reason, which the requester can see.
Pending requests also appear on the dashboard, so approvers see them as soon as they sign in.
Still stuck?
Contact support Tell us what you were trying to do and we will help.