QR check-in and attendance
Let people check themselves in with a QR code, record a headcount, and see attendance over time.
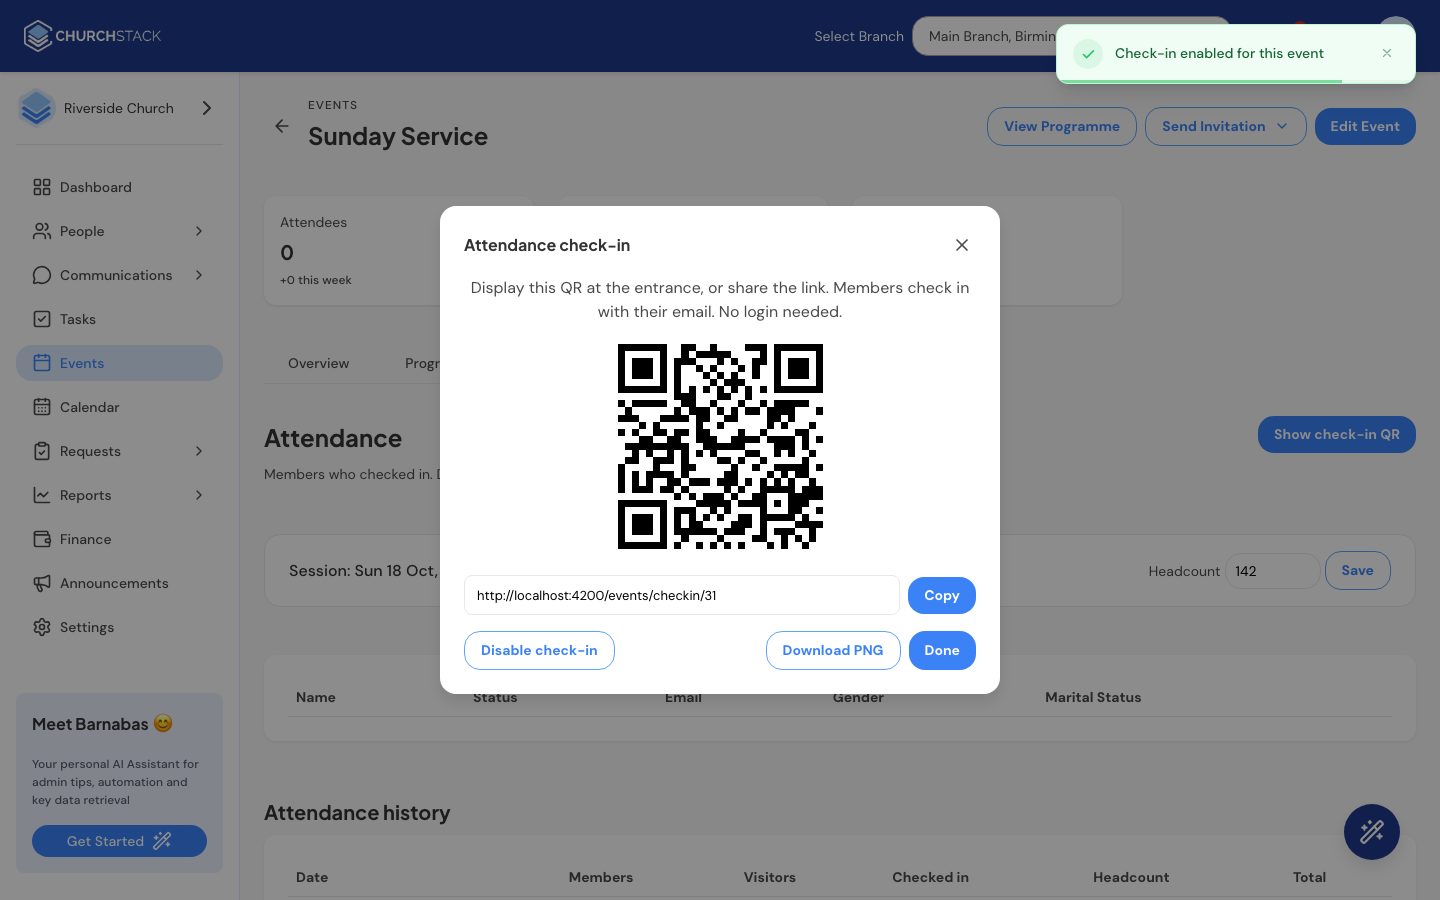
ChurchStack takes attendance by self check-in. You show a QR code at the entrance; people scan it with their phone camera and enter their email address. Nobody needs an app or a password.
Turn on check-in
- Open the event and go to the Attendees tab.
- Select Enable check-in. The QR code appears.
- Display it at the entrance on a screen or printed sign. Select Download PNG for a print-ready image, or Copy to share the link.
Next time, select Show check-in QR to bring it back up. Disable check-in turns it off.
When check-in is open
Check-in opens one hour before the start time on the day of the event, and stays open for the rest of that day. Before then, people scanning the code are told when it opens. For a repeating event, this applies to each date in the series.
What people see
- They scan the code and enter their email address.
- If the email belongs to someone in your contacts, they are checked in straight away.
- If ChurchStack does not recognise the email, it asks First time here? and takes their first and last name. They are added to your contacts as a first-time visitor and tagged First Timer, which can start your first-timer follow-up automation.
Members using the member app can also check in from the Check in tab.
Headcount
Not everyone will check in, especially children and visitors who skip it. Type the number you counted in the room into Headcount and select Save.
Attendance history
Below the list of people checked in is the Attendance history for the event: for each date, how many members and visitors checked in, the headcount and the total.
For trends across all your services, such as average attendance and first-time visitors, see Analytics. Attendance analytics are part of Pro.
Tell us what you were trying to do and we will help.